
Text behind image, free online editor
Upload a photo, slide text behind the subject with an AI cutout, style it, and export a high-resolution PNG. No sign-up, no watermark, and your image never leaves your browser.
This is what you'll make
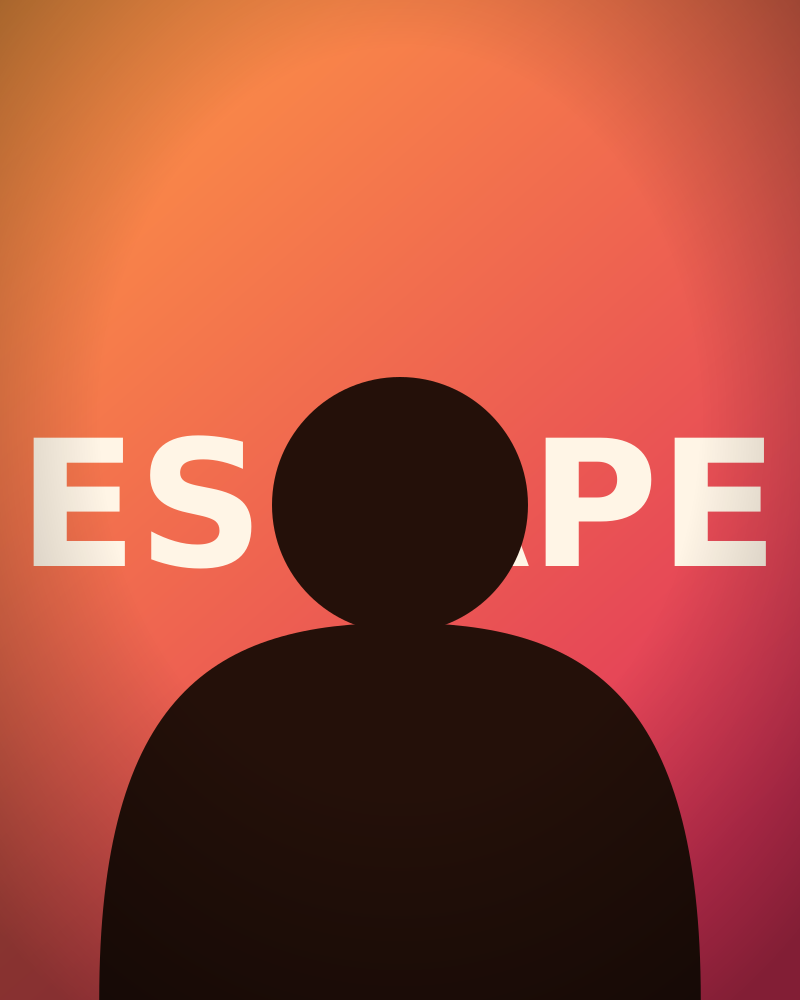
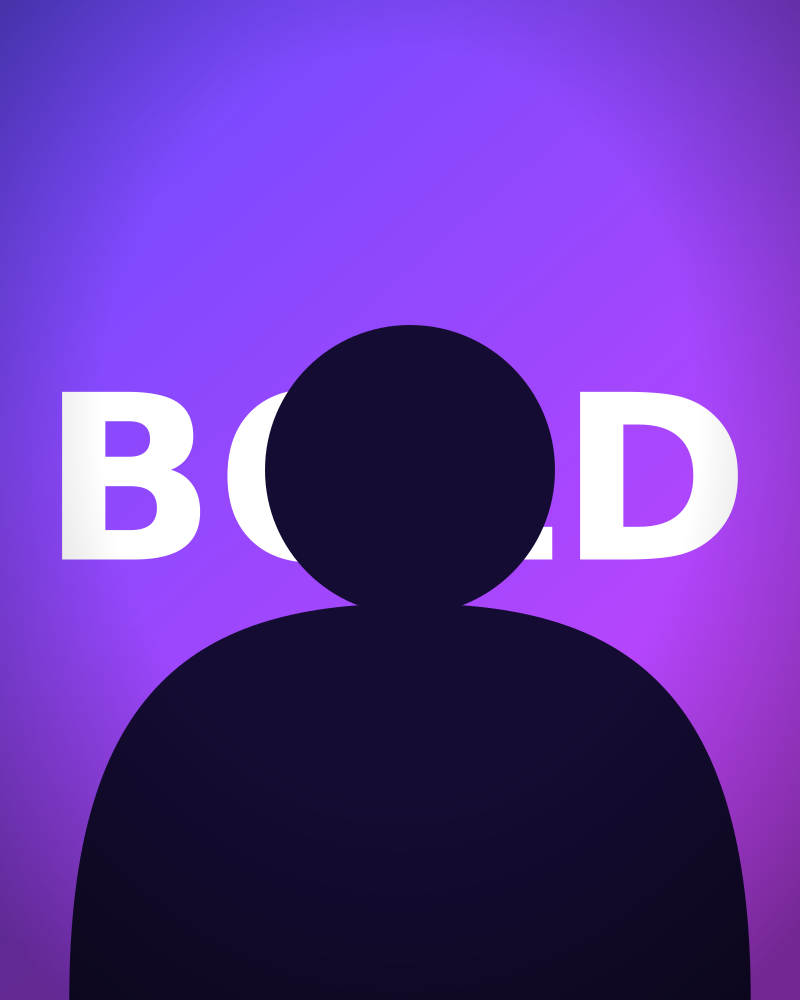

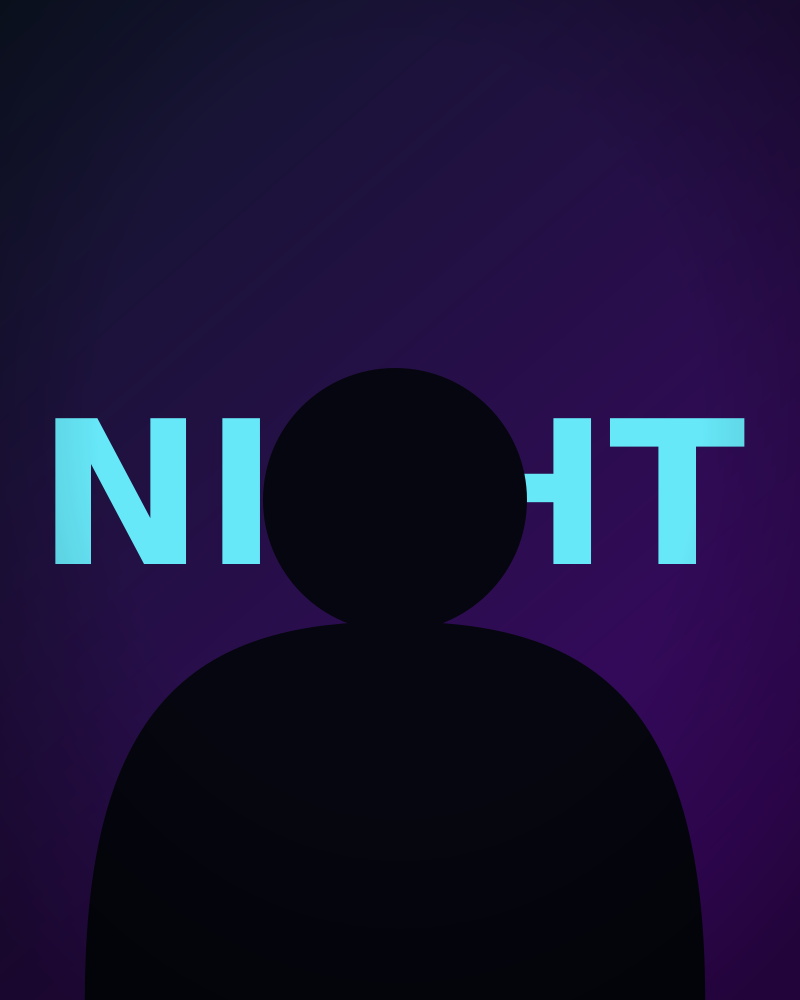
Text behind image examples
Every one of these is a single photo with a text layer tucked behind the subject — no Photoshop, no masking by hand. Scroll through for ideas, then upload your own photo above and rebuild the look in a couple of minutes.
SolidOversizedOutlineNeon Glow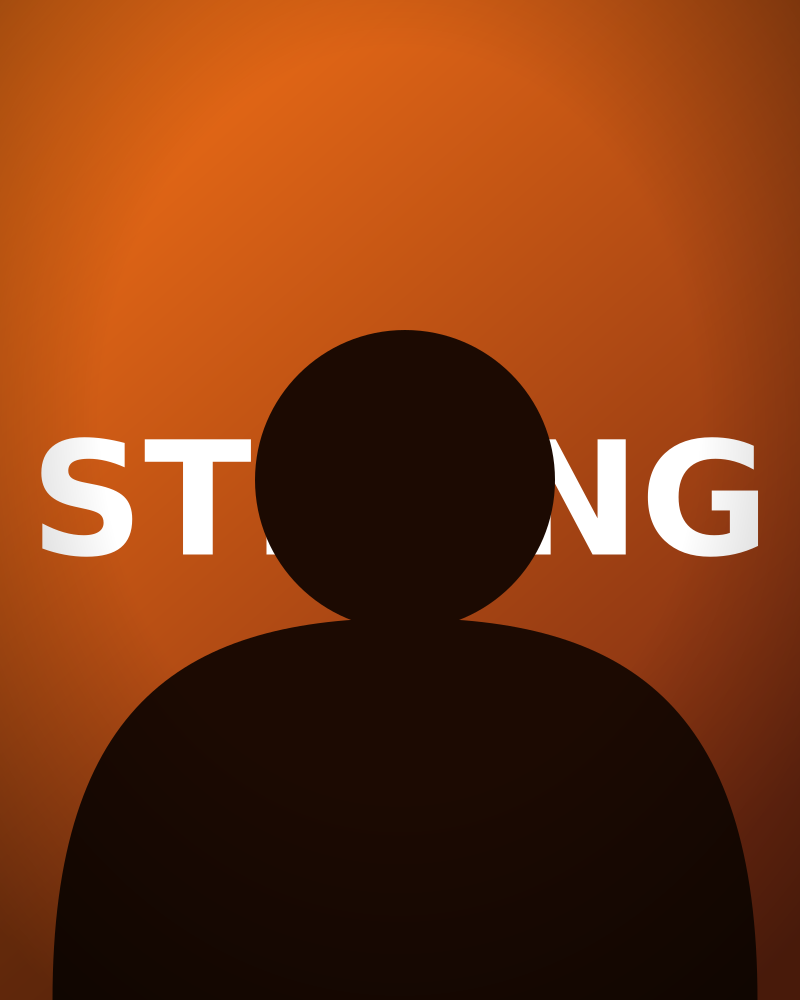 3D Pop
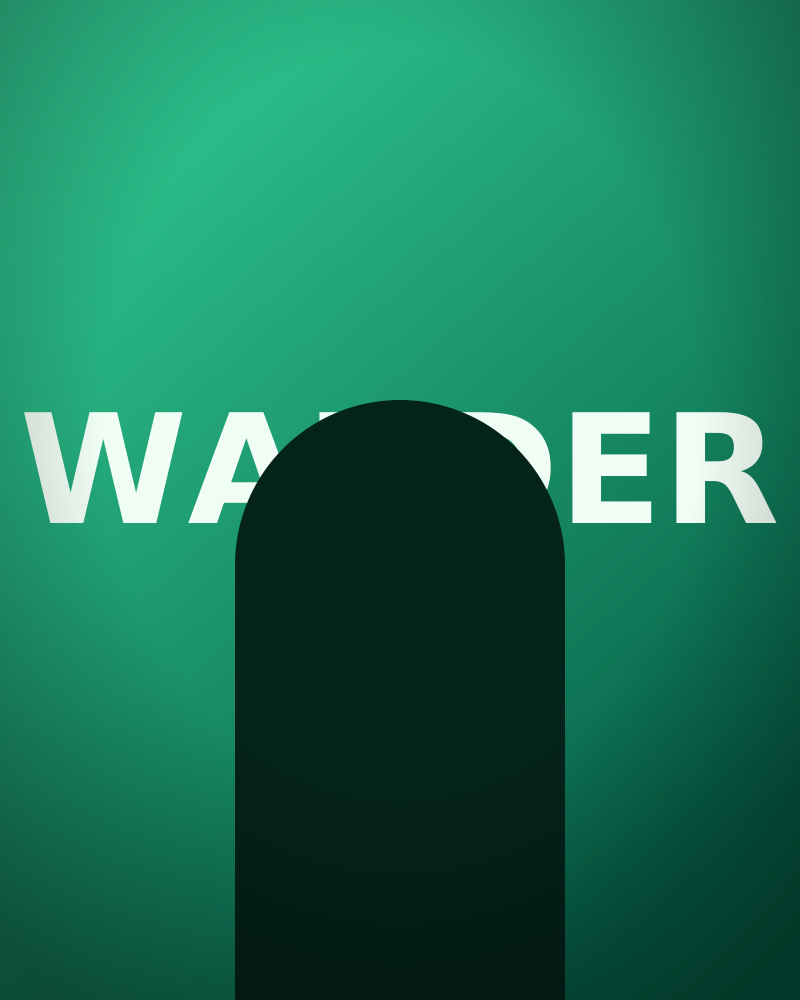 Gradient
 Retro 80s
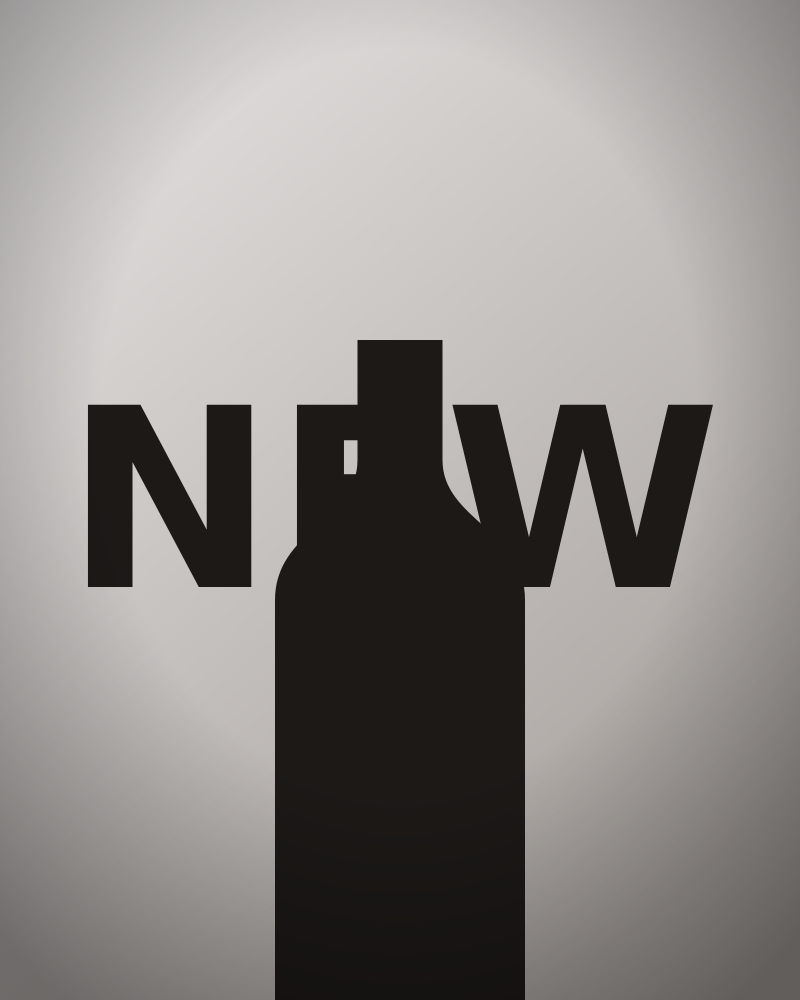 Minimal
How to put text behind an image
Four steps, about two minutes, and no design software. Everything below happens right on this page.
Upload your photo
Drop in a JPG, PNG or WebP. An AI model separates the subject from the background in your browser, nothing is uploaded anywhere.
Type your text
Write your headline and pick from 14 fonts. The text immediately renders behind the cutout subject, so you see the effect as you type.
Style and position
Apply a preset, then tune colour, gradient, outline, shadow, rotation and stretch. Drag the layer or nudge it with the arrow keys.
Download the PNG
Export at the full resolution of your original photo. No watermark, no credits, no account, download as many times as you want.
Six text styles, one click each
Presets are a starting point, not a cage. Each one loads a full bundle of fill, gradient, outline and shadow settings that you can keep editing afterwards. Here is how each looks:
Solid
Outline
Gradient
Neon Glow
3D Pop
Retro 80s
What you can control
Most free text behind image tools give you a font and a colour picker. This one gives you the controls you would actually reach for in a design app.
Automatic subject cutout
AI segmentation isolates the person or object the moment you upload, so the text falls behind it with no manual masking, no lasso tool and no eraser work.
Unlimited text layers
Stack a giant headline, a subtitle and a date stamp in one design. Every layer carries its own font, colour, preset and transform, and you can duplicate any of them.
Gradients, outlines and glow
Two-stop gradient fills at any angle, adjustable outline width and colour, and a shadow that doubles as a neon glow when you push the blur up.
Independent width and height
Stretch a layer tall for the condensed poster look or wide for a cinematic wordmark, without touching the font size. Rotate anywhere from -180° to 180°.
Pixel-precise placement
Drag layers freely on the canvas, then fine-tune with arrow keys for single-pixel nudges or Shift + arrow for 10px steps.
Private by design
The cutout model and the PNG export both run locally through WebAssembly and canvas. Your photos are never sent to a server, so nothing is stored or logged.
What people make with it
The text behind image look works anywhere you need a headline to feel part of the photo rather than pasted on top of it.
YouTube thumbnails
Put the hook word behind your face so the frame reads as depth instead of clutter. It survives the shrink to mobile size far better than a floating text box.
Instagram posts and reel covers
Cover art where your name or the episode title wraps behind you. Export square or vertical simply by starting from a square or vertical photo.
Phone wallpapers
A word or date behind the subject makes a portrait shot feel like a designed lock screen instead of a raw camera roll photo.
Posters and event flyers
Gig posters, sports fixtures and conference speaker cards all lean on the same trick: oversized type running behind the person on stage.
Product and launch shots
Set the product on a clean background, run the brand word behind it, and you have a launch banner that took minutes rather than a studio session.
Quote and title cards
Layer a short quote behind a portrait for editorial-style graphics in newsletters, blog headers and LinkedIn carousels.
What is a text behind image tool?
A text behind image tool creates the illusion of depth in a flat photo. It separates the subject from the background, slides a text layer in between the two, and puts the subject back on top. Because the words are partly hidden by the person or object in front of them, your eye reads the image as having three dimensions, the text feels like it is standing in the scene rather than sitting on the glass.
Designers have done this for decades with layer masks in Photoshop: cut the subject out, duplicate it, place the type between the copies. The manual version is slow and fiddly, especially around hair and edges. An automated text behind image editor collapses that whole routine into an upload and a keystroke, because the cutout is generated for you.
This editor does that work in your browser. There is no queue, no credit system, and no upload step, the segmentation model runs on your own machine through WebAssembly, and the final composite is drawn on a canvas locally before it downloads. That is also why it stays free and unlimited: we are not paying for GPU time on your behalf.
Tips for a clean result
- Pick a photo with a clear subject edge. Strong separation between subject and background gives the cutout model an easy job. Backlit hair, chain-link fences and motion blur are the hardest cases for any automatic tool.
- Let the subject cover part of the text. The effect only reads as depth when something is genuinely overlapping. If your text sits entirely in empty sky, it looks like a caption, not a layer.
- Go bigger than feels comfortable. Most first drafts are too timid. Oversized type that runs off both edges of the frame is what gives posters and thumbnails their punch.
- Use one or two words. The look depends on the word being readable while partly hidden. Long sentences turn into noise once the subject covers the middle of them.
- Match the text colour to the photo. Pull a colour that already exists in the image, or push the opposite way for contrast. A gradient sampled from the background usually beats plain white.
- Add a soft shadow behind light text. A little blur separates the type from a busy background without making it look like a sticker.
How this compares
| This tool | Typical online editor | Photoshop | |
|---|---|---|---|
| Price | Free, unlimited | Free tier, then credits | Subscription |
| Account needed | No | Usually yes | Yes |
| Watermark | None | Often on free tier | None |
| Where images go | Stays on your device | Uploaded to a server | Stays on your device |
| Cutout work | Automatic | Automatic | Manual masking |
| Time to first result | About a minute | A few minutes | 10+ minutes |
Frequently Asked Questions (FAQs)
What is a text behind image effect?
It is a depth trick: the subject of your photo is separated from its background, a text layer is slid in between the two, and the subject is placed back on top. The result looks like your words are physically standing behind the person or object in the frame. It is the same look you see on album covers, magazine spreads and YouTube thumbnails.
Is this text behind image tool free?
Yes, completely free with no sign-up, no credits and no watermark. Export as many images as you like at full resolution.
How does it know what to place the text behind?
When you upload a photo, an AI segmentation model runs in your browser and cuts the main subject out of the background. That cutout is layered above your text, so anything you type automatically falls behind the subject without you masking a single pixel.
Are my images uploaded to a server?
No. Background removal runs locally through WebAssembly and the export is drawn on a canvas in your own browser. Your photo never leaves your device, which is why the tool also works if your connection drops mid-edit.
Can I add more than one line or block of text?
Yes. Use "Add text" in the layers panel to stack as many text layers as you need. Every layer keeps its own font, size, colour, preset, rotation and position, so you can mix a huge headline with a small caption in the same design.
Can I stretch text wide or tall without changing the font size?
Yes. The Width and Height sliders scale the layer independently on each axis. That is how you get the tall condensed poster look or a wide cinematic wordmark while keeping the font size where you want it.
What styles can I apply to the text?
Six presets ship with the tool - Solid, Outline, Gradient, Neon Glow, 3D Pop and Retro 80s. Each one is a starting point: fill colour, gradient stops and angle, outline colour and width, shadow blur and offset, opacity and letter spacing are all editable afterwards.
Which image formats can I upload?
JPG, PNG and WebP all work, and transparent PNGs are handled correctly. Exports are always high-resolution PNG at the original pixel dimensions of your photo.
Which photos give the best cutout?
Photos where the subject is clearly separated from the background, good lighting, a visible edge, and no heavy motion blur. Hair, fur and fine mesh are the hardest cases for any automatic cutout, so a plainer background helps a lot there.
Does it work on a phone?
Yes, the editor runs in mobile browsers on both iOS and Android. Background removal is heavier on a phone, so the first cutout may take a few extra seconds. A laptop is more comfortable for fine positioning work.
Can I use the images commercially?
The tool adds no licence of its own and no watermark, so what you export is yours. Just make sure you have the rights to the original photo and to any font you rely on for a commercial piece.
Do I need to install anything?
No. There is nothing to download or install, no extension and no account. Open the page, upload a photo and start typing.
Related Tools
Explore more tools to enhance your social media strategy:
Remove Image Background
Cut the subject out of any photo and download it as a transparent PNG.
Add Text to Image
Overlay captions and headlines on top of a photo with full font control.
Thumbnail Generator
Build click-worthy YouTube thumbnails at the right size, fast.
Image Compressor
Reduce image file sizes while maintaining quality for faster web performance.
Add Watermark to Image
Protect your images by adding custom text or image watermarks online.
Convert Image Formats
Convert images between JPG, PNG, JPEG, WEBP, and more.